The easy way to create a blog badge

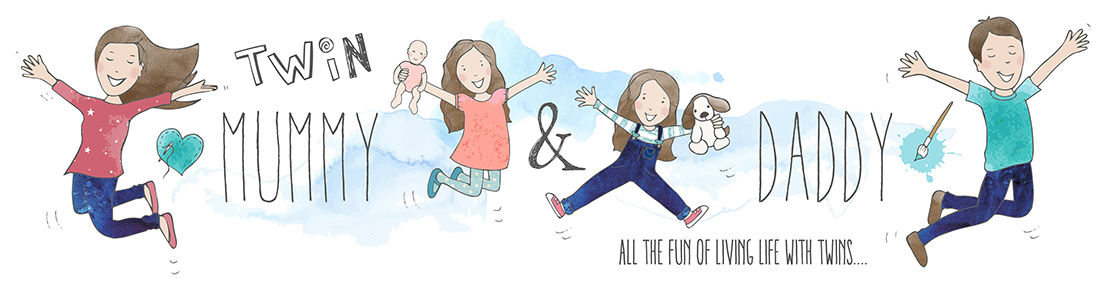
As you can see it is the same font as my blog’s header and it also uses a few of the same images. It’s a good idea to stick to one theme and ensure your badge matches the tone/theme of your blog. This will help people to associate it with your blog.
I created this image using PicMonkey. It’s really simple to do. You can choose to use images or simply have your blog title with no image. It’s completely up to you!
A good size for your badge is 250 x 250 as this will fit in most blog side bars well.
On PicMonkey simply select ‘Design’ followed by ‘Custom’ and enter the size 250 x 250.
Once you’ve created your image and you’re happy with it you’ll need to save it to your computer.
Upload your image
Visit Photobucket. If you haven’t already got an account, you’ll need to create one. Don’t worry it’s free and won’t take very.
Once your account has been created, click upload and select the image you’ve just created.
Create your badge
Click here and follow the instructions.
You’ll be asked to enter your website/blog title, your website/blog URL and your image URL.
To find your image URL return to PhotoBucket and click the image you want to use. On the right hand side of the page you should see a box entitled ‘Links to share this photo.’ Copy the second one down which says ‘direct’ next to it’.
This is your image URL.
Ensure ‘Textaria’ is selected alongside ‘container type’ and scroll down the page to select ‘preview.’
You should see your blog badge!
If you’re happy with it, select ‘Get Code’. You’ll be returned to the page you were on and you should now see a code which is unique to you. Highlight it all, right click and select copy.
You’ll now need to create a new post which you’ll just leave in drafts so it’s always there should you need to use/edit it etc.
Paste the code in HTML and then select compose to make sure it works.
Your badge should show as an image followed by a box under it with the HTML code in. Like this:
.PNG)
To add your badge to your sidebar, return to the Blogger dashboard and select layout and then add a gadget.
Select HTML/Java script and paste the HTML code.
Tah Dah!

32 Comments
Mummy Whiskers
February 10, 2014 at 8:50 am
This is great, I'll be trying it later today!
Emily
February 10, 2014 at 9:52 am
Thank you, glad it's helped 🙂
Helen Porter
February 10, 2014 at 10:35 am
I AM going to try this! I am such a technophobe sometimes I wonder how I managed to create a blog in the first place but I will give it a go eeek great post xxx
Emily
February 10, 2014 at 7:56 pm
Thanks Helen. Let me know how you get on xxx
Gemma Button
February 10, 2014 at 10:59 am
Thanks for this, I really do wish I was more confident in these areas of blogging x
Emily
February 10, 2014 at 7:57 pm
Hi Gemma, it'll come with time and practise x
Denise Johnson
February 10, 2014 at 2:42 pm
This is a great post Emily – I will definitely be having a go at this tonight 🙂
Emily
February 10, 2014 at 7:57 pm
Thanks Denise 🙂
leonii watters
February 10, 2014 at 8:13 pm
i am deffo going to give this ago!!! thanks for the breakdown will let you know how i get on and if i need help :))!!! leonii foreverchangesblog xx
Emily
February 12, 2014 at 10:01 pm
You're welcome Leonii! Any problems, please let me know x
Catriona Stephen
February 10, 2014 at 8:16 pm
Thank you for the tips 🙂 will be trying this tomorrow x
Emily
February 12, 2014 at 10:02 pm
You're welcome Catriona x
Amy Squires
February 14, 2014 at 9:15 am
Thanks for the tips!
Emily
February 14, 2014 at 1:08 pm
You're welcome Amy x
The Reading Residence
February 14, 2014 at 10:48 am
I do like a blog badge! Great tips x
Emily
February 14, 2014 at 1:08 pm
Thanks hun x
Lucie Aiston
February 14, 2014 at 11:42 am
This is SOOOOO helpful!! Thanks Emily! xxx
Emily
February 14, 2014 at 1:10 pm
You're welcome x
Loving life with little ones
February 14, 2014 at 1:07 pm
Thank you, i think i'll be getting myself one of those! can you adjust the size once imorted to your side bar, some are too big?
Emily
February 14, 2014 at 1:12 pm
You'll need to re-size the image you want to use. You can use picmonkey to do this and then create your badge. Alternatively, you could just widen your side bar so the badge fits, providing it's not too wide x
Mel C
February 14, 2014 at 1:57 pm
Ah ha, I found you. This is a good tutorial and it is definitely on my to do list after I sort out my actual blog design. I will definitely be returning!
seychellesmama
February 15, 2014 at 7:13 am
This is great thank you for sharing this 🙂
Ps huge congrats on #binkylinky what a huge success!!! Xx
Jo Nicholson
February 15, 2014 at 9:17 am
Thanks for this, I tried making one a few weeks ago and it didn't work so definitely going to be giving this a go! #binkylinky
Helen Porter
February 15, 2014 at 7:20 pm
a well written easy to follow great post Emily thank you xx
Ickle Pickle
February 16, 2014 at 7:36 pm
Hi, don't know is anyone else has said this, apologies if they have, but I couldn't find 'Custom' it is now 'Resize' on the left of picmonkey after you click 'Design' great post, thankyou x
Californian Mum in London
February 17, 2014 at 11:58 am
Wow, so helpful. I've really been wanting one. Thanks! #binkylinky
Lottie Lomas
April 27, 2014 at 7:45 pm
Thank you sooooooo much! Just put my badge on the site – and updated the header – all thanks to you! xxxxxx
Tara Macfarlane
June 2, 2014 at 8:44 pm
Worked a treat, thank you so much xx
Leandra Bramham
November 3, 2015 at 10:20 pm
Wish I'd have seen this when creating our blog badges 😉 so much easier than the one I followed. I know where to come next time – great tutorial xx
Richie Sayers
May 11, 2017 at 10:23 pm
This is amazing, thanks for this. You have got me some husband points! Have been trying to get this to work on inlinkz with no avail. Nigel shared this with me so thanks to you both
Emily
May 11, 2017 at 11:15 pm
Yay! Glad it’s helped!