
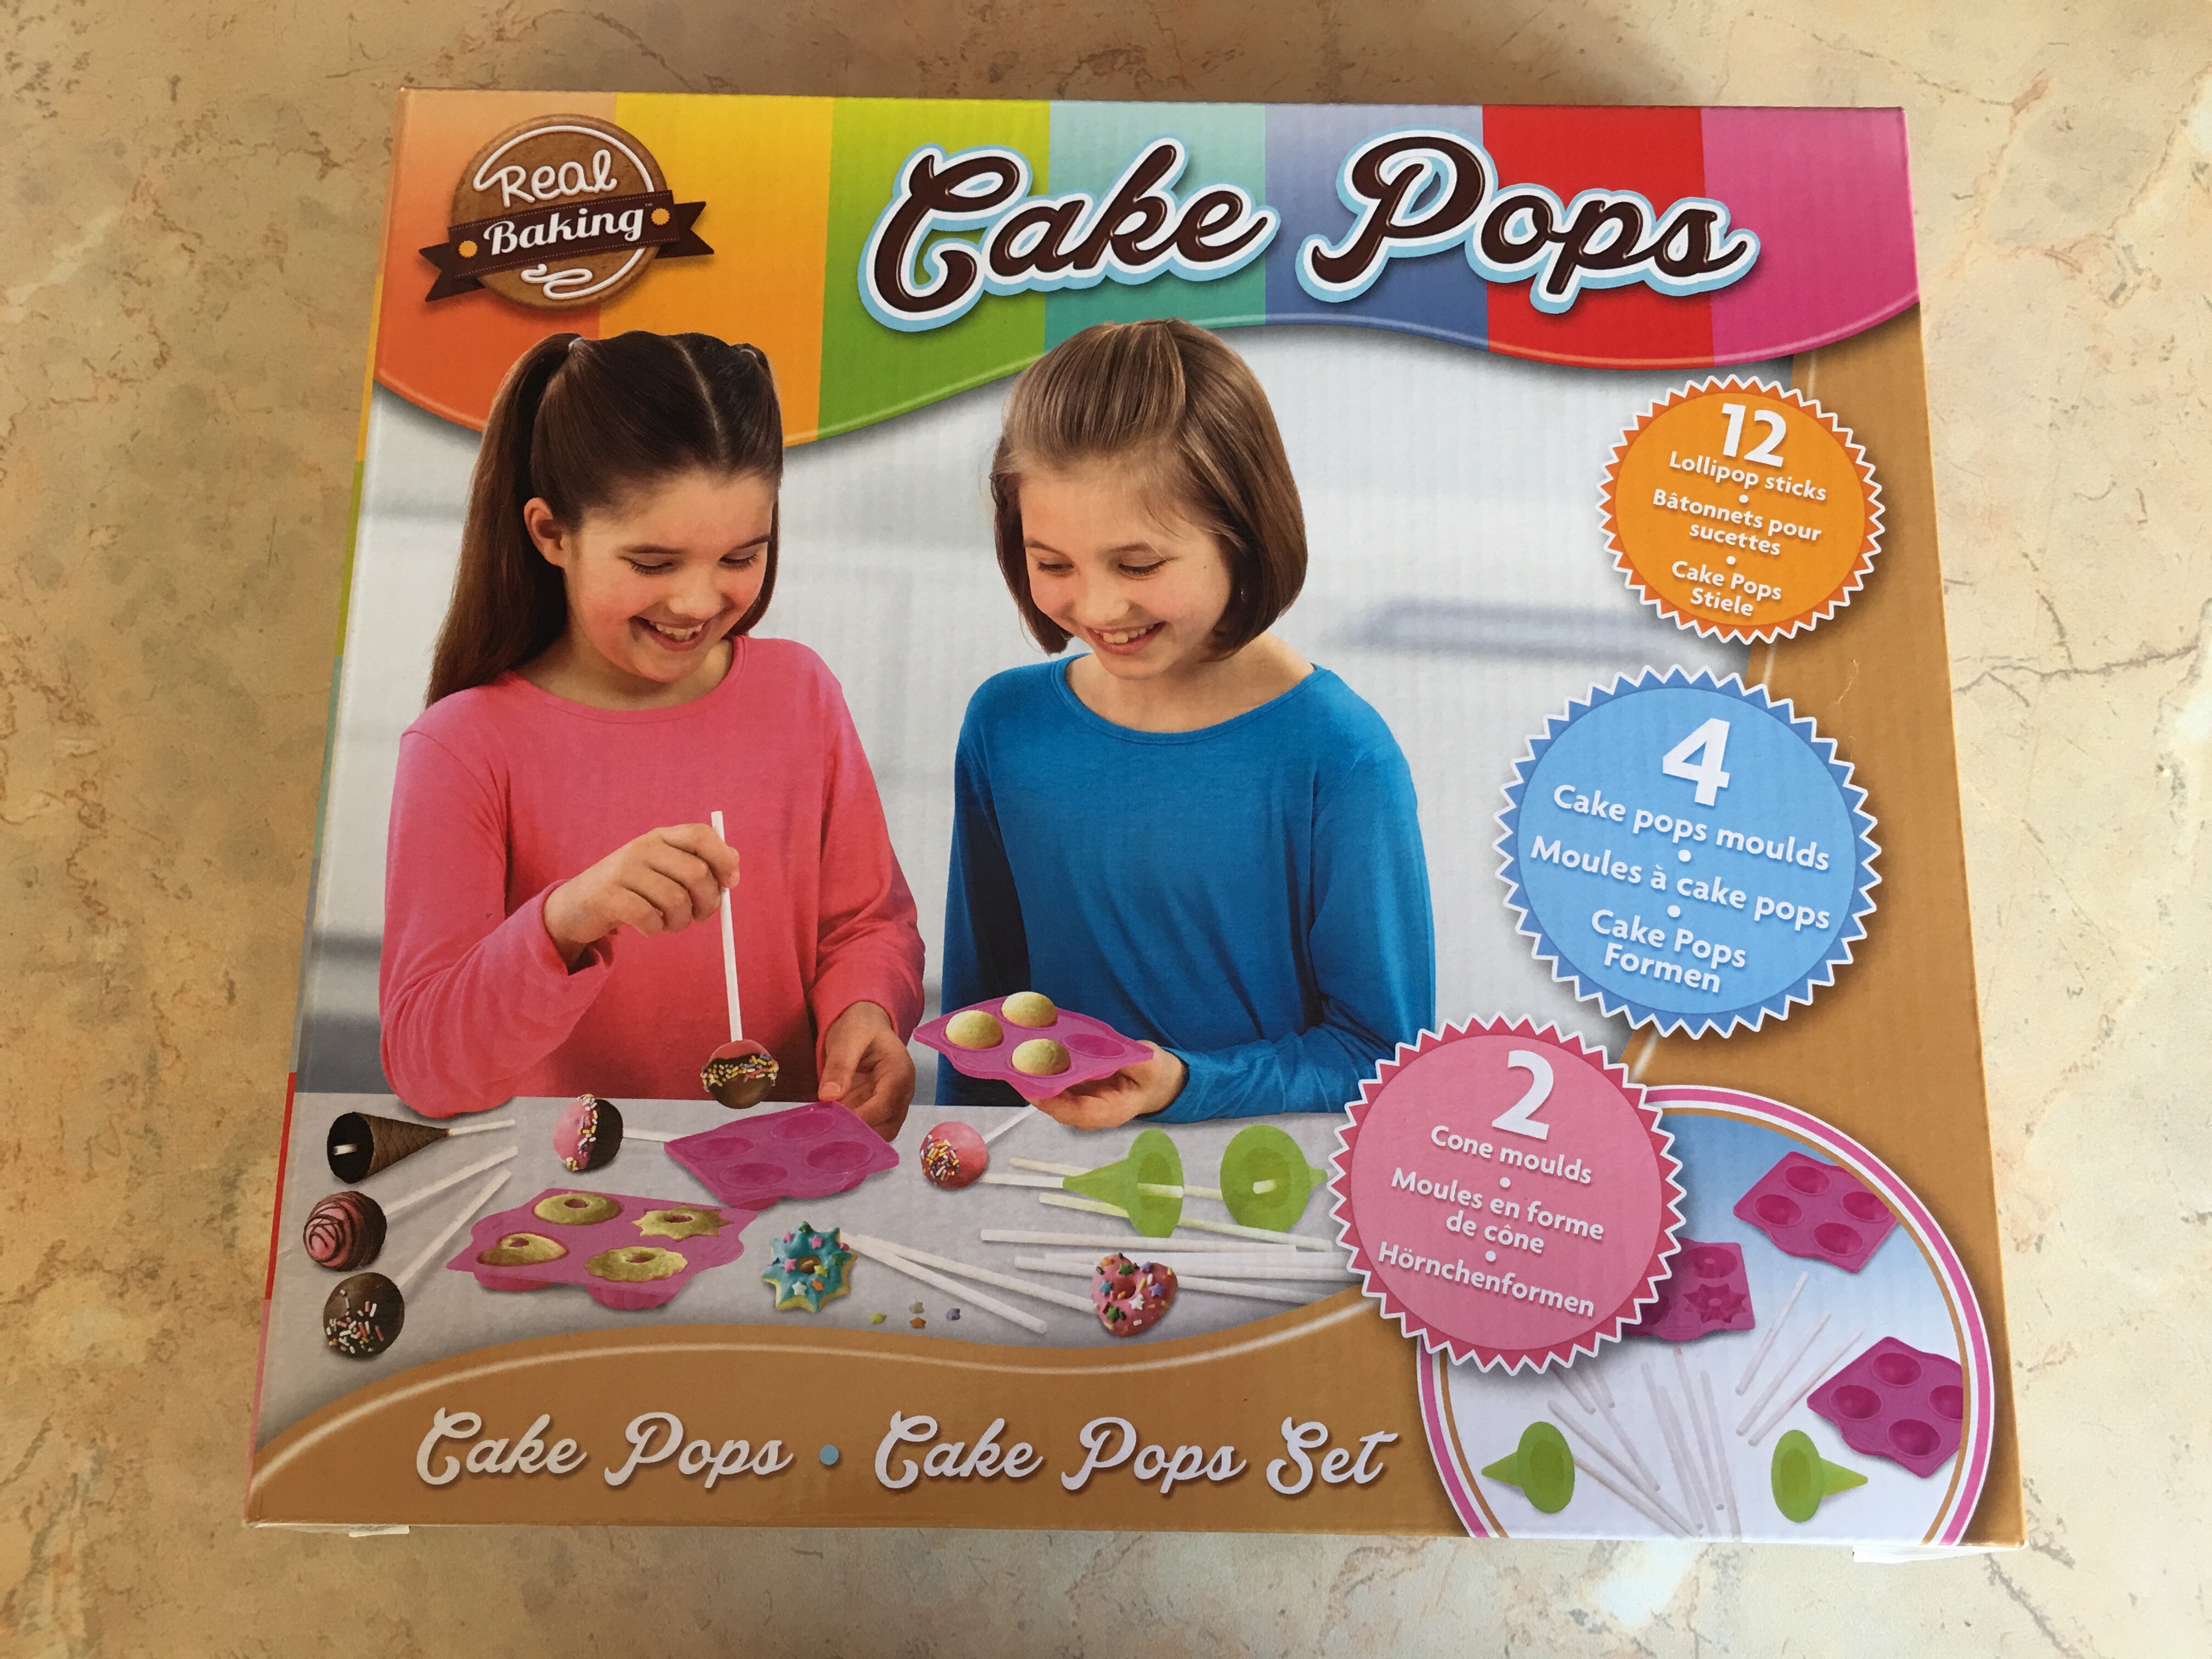
Real Baking Cake Pops Kit Review
Baking is something that the whole family enjoy doing. It’s an activity that everyone can get involved in, plus it’s lots of fun! When we were recently sent a cake pops kit along with some other baking goodies we were keen to get started straight away!
We were recently sent some fabulous Real Baking goodies from Vivid. As you can see we were sent one chocolate pen set, a great baking set, a cookie kit, a cake pops kit, two bars of Divine chocolate and two chefs hats.
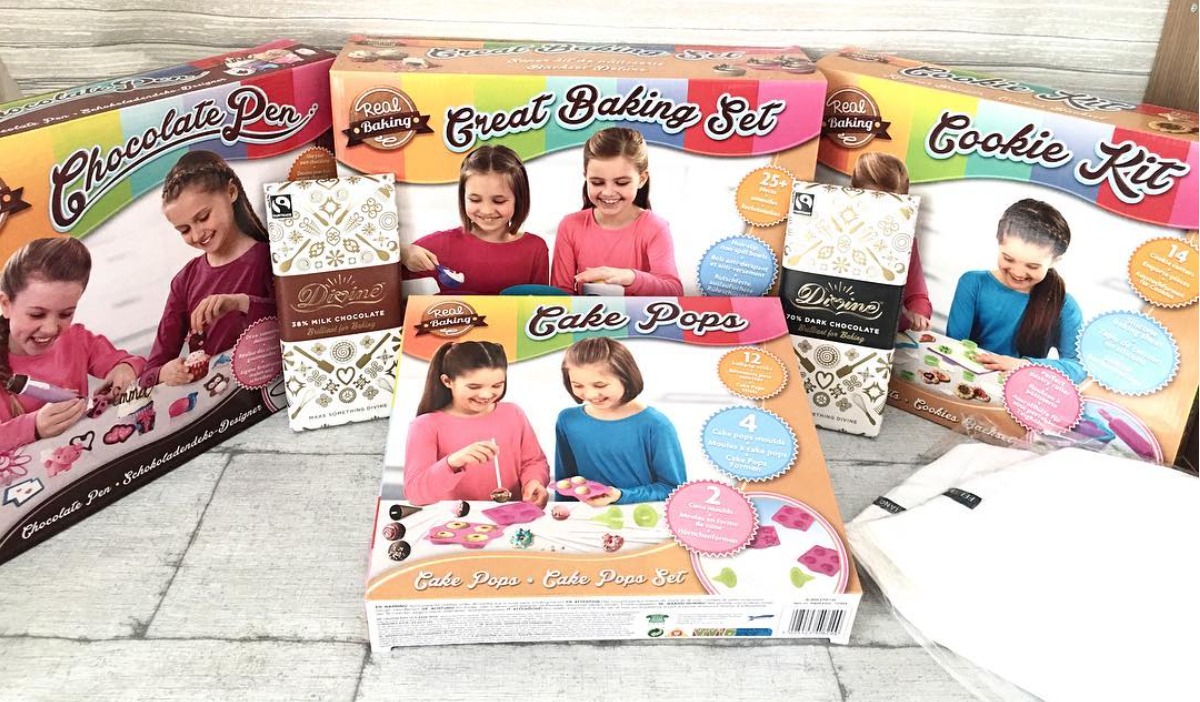
This post is a review of the cake pops kit, but stay tuned for my reviews of the other products mentioned above over the next few weeks!
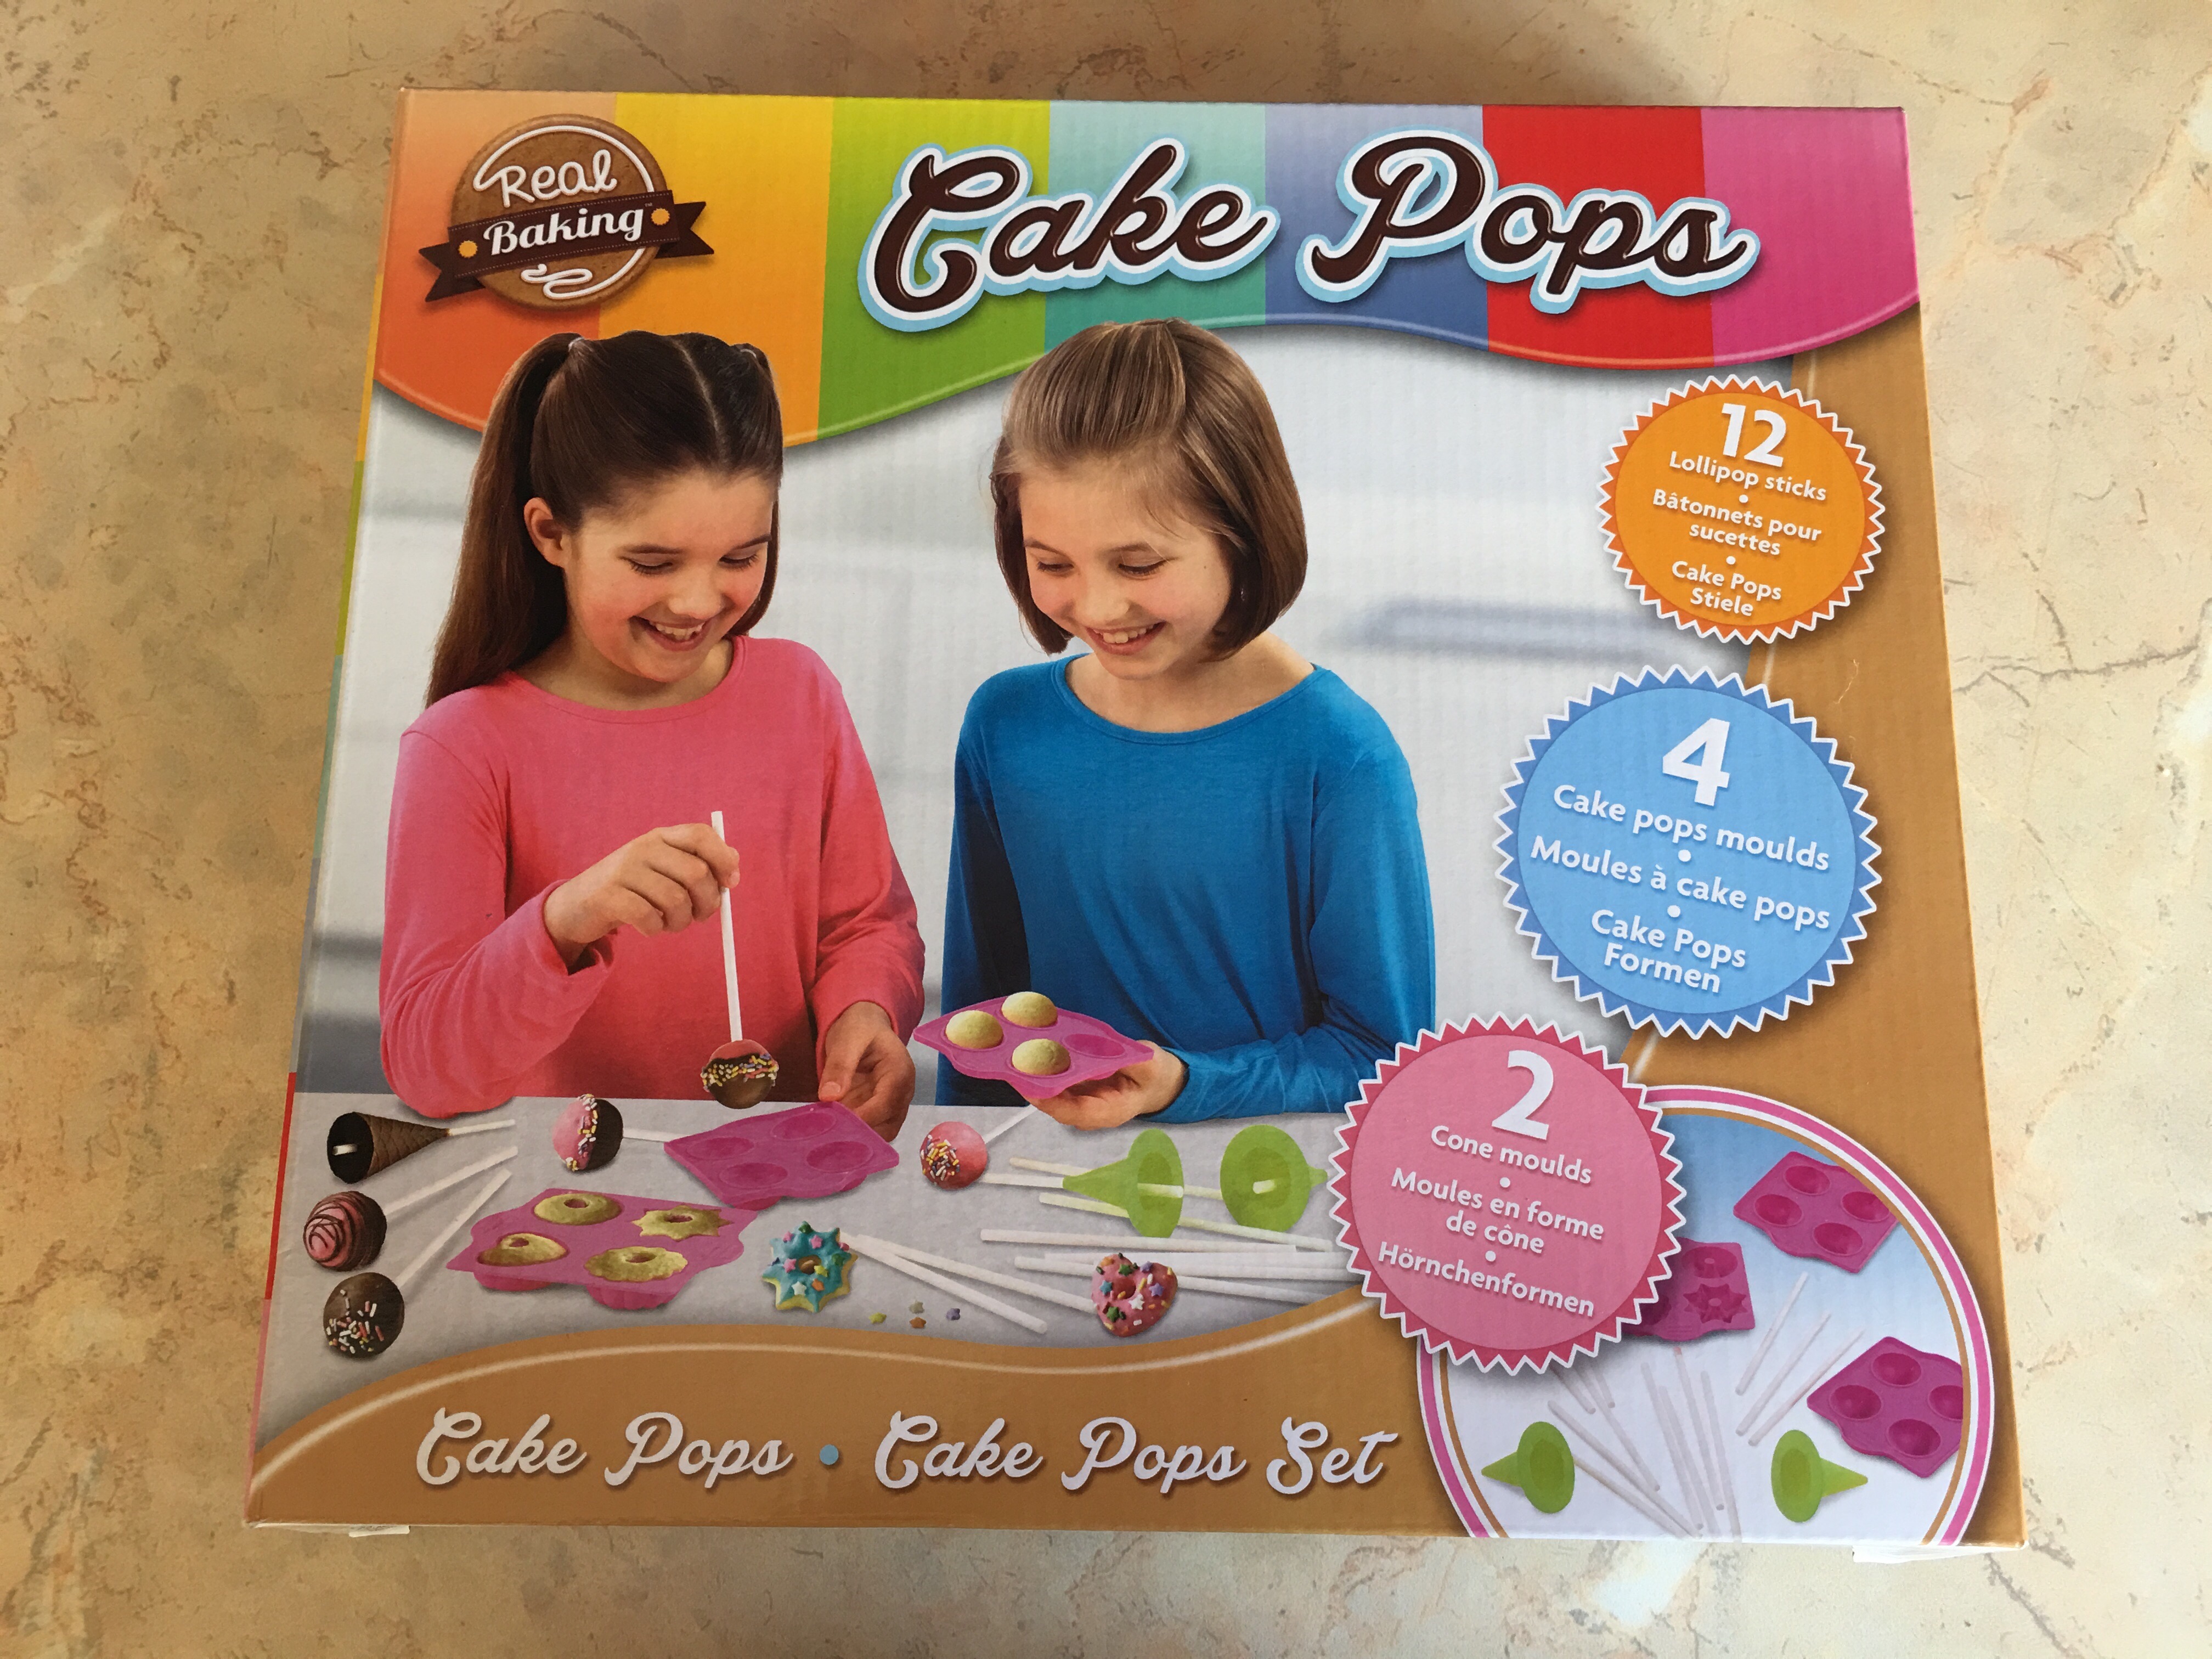
Inside the cake pops kit you’ll find:
- 12 lollipop sticks
- 4 cake pop moulds
- 2 cone moulds
- 4 mini donut moulds
- Instruction leaflet

Each item is well made, but I would have liked to have seen some sort of stand to hold the cake pops upright. More on this a bit later on!
As mentioned above you do get a set of instructions with the cake pops kit, but there is no recipe included, which I think would have been a nice addition. It didn’t matter too much though as you can just use any cupcake recipe of your choice, although you’ll have a lot of cake mix left over as there are only four cake pop moulds, so have some cupcake cases to hand to bake the remaining cake mixture. Don’t let it go to waste!
The first job in making our cake pops was to break up the chocolate. We used a 200g bar of Divine milk chocolate, which I have to say tastes amazing!

Our twin girls, M and R, were more than happy to break up the chocolate and pop it into the bowl. I’m pretty sure they may have snuck in a cheeky bite or two of the chocolate as well!

After breaking up the chocolate, carefully place the bowl into a saucepan and turn the heat up to medium to melt the chocolate.
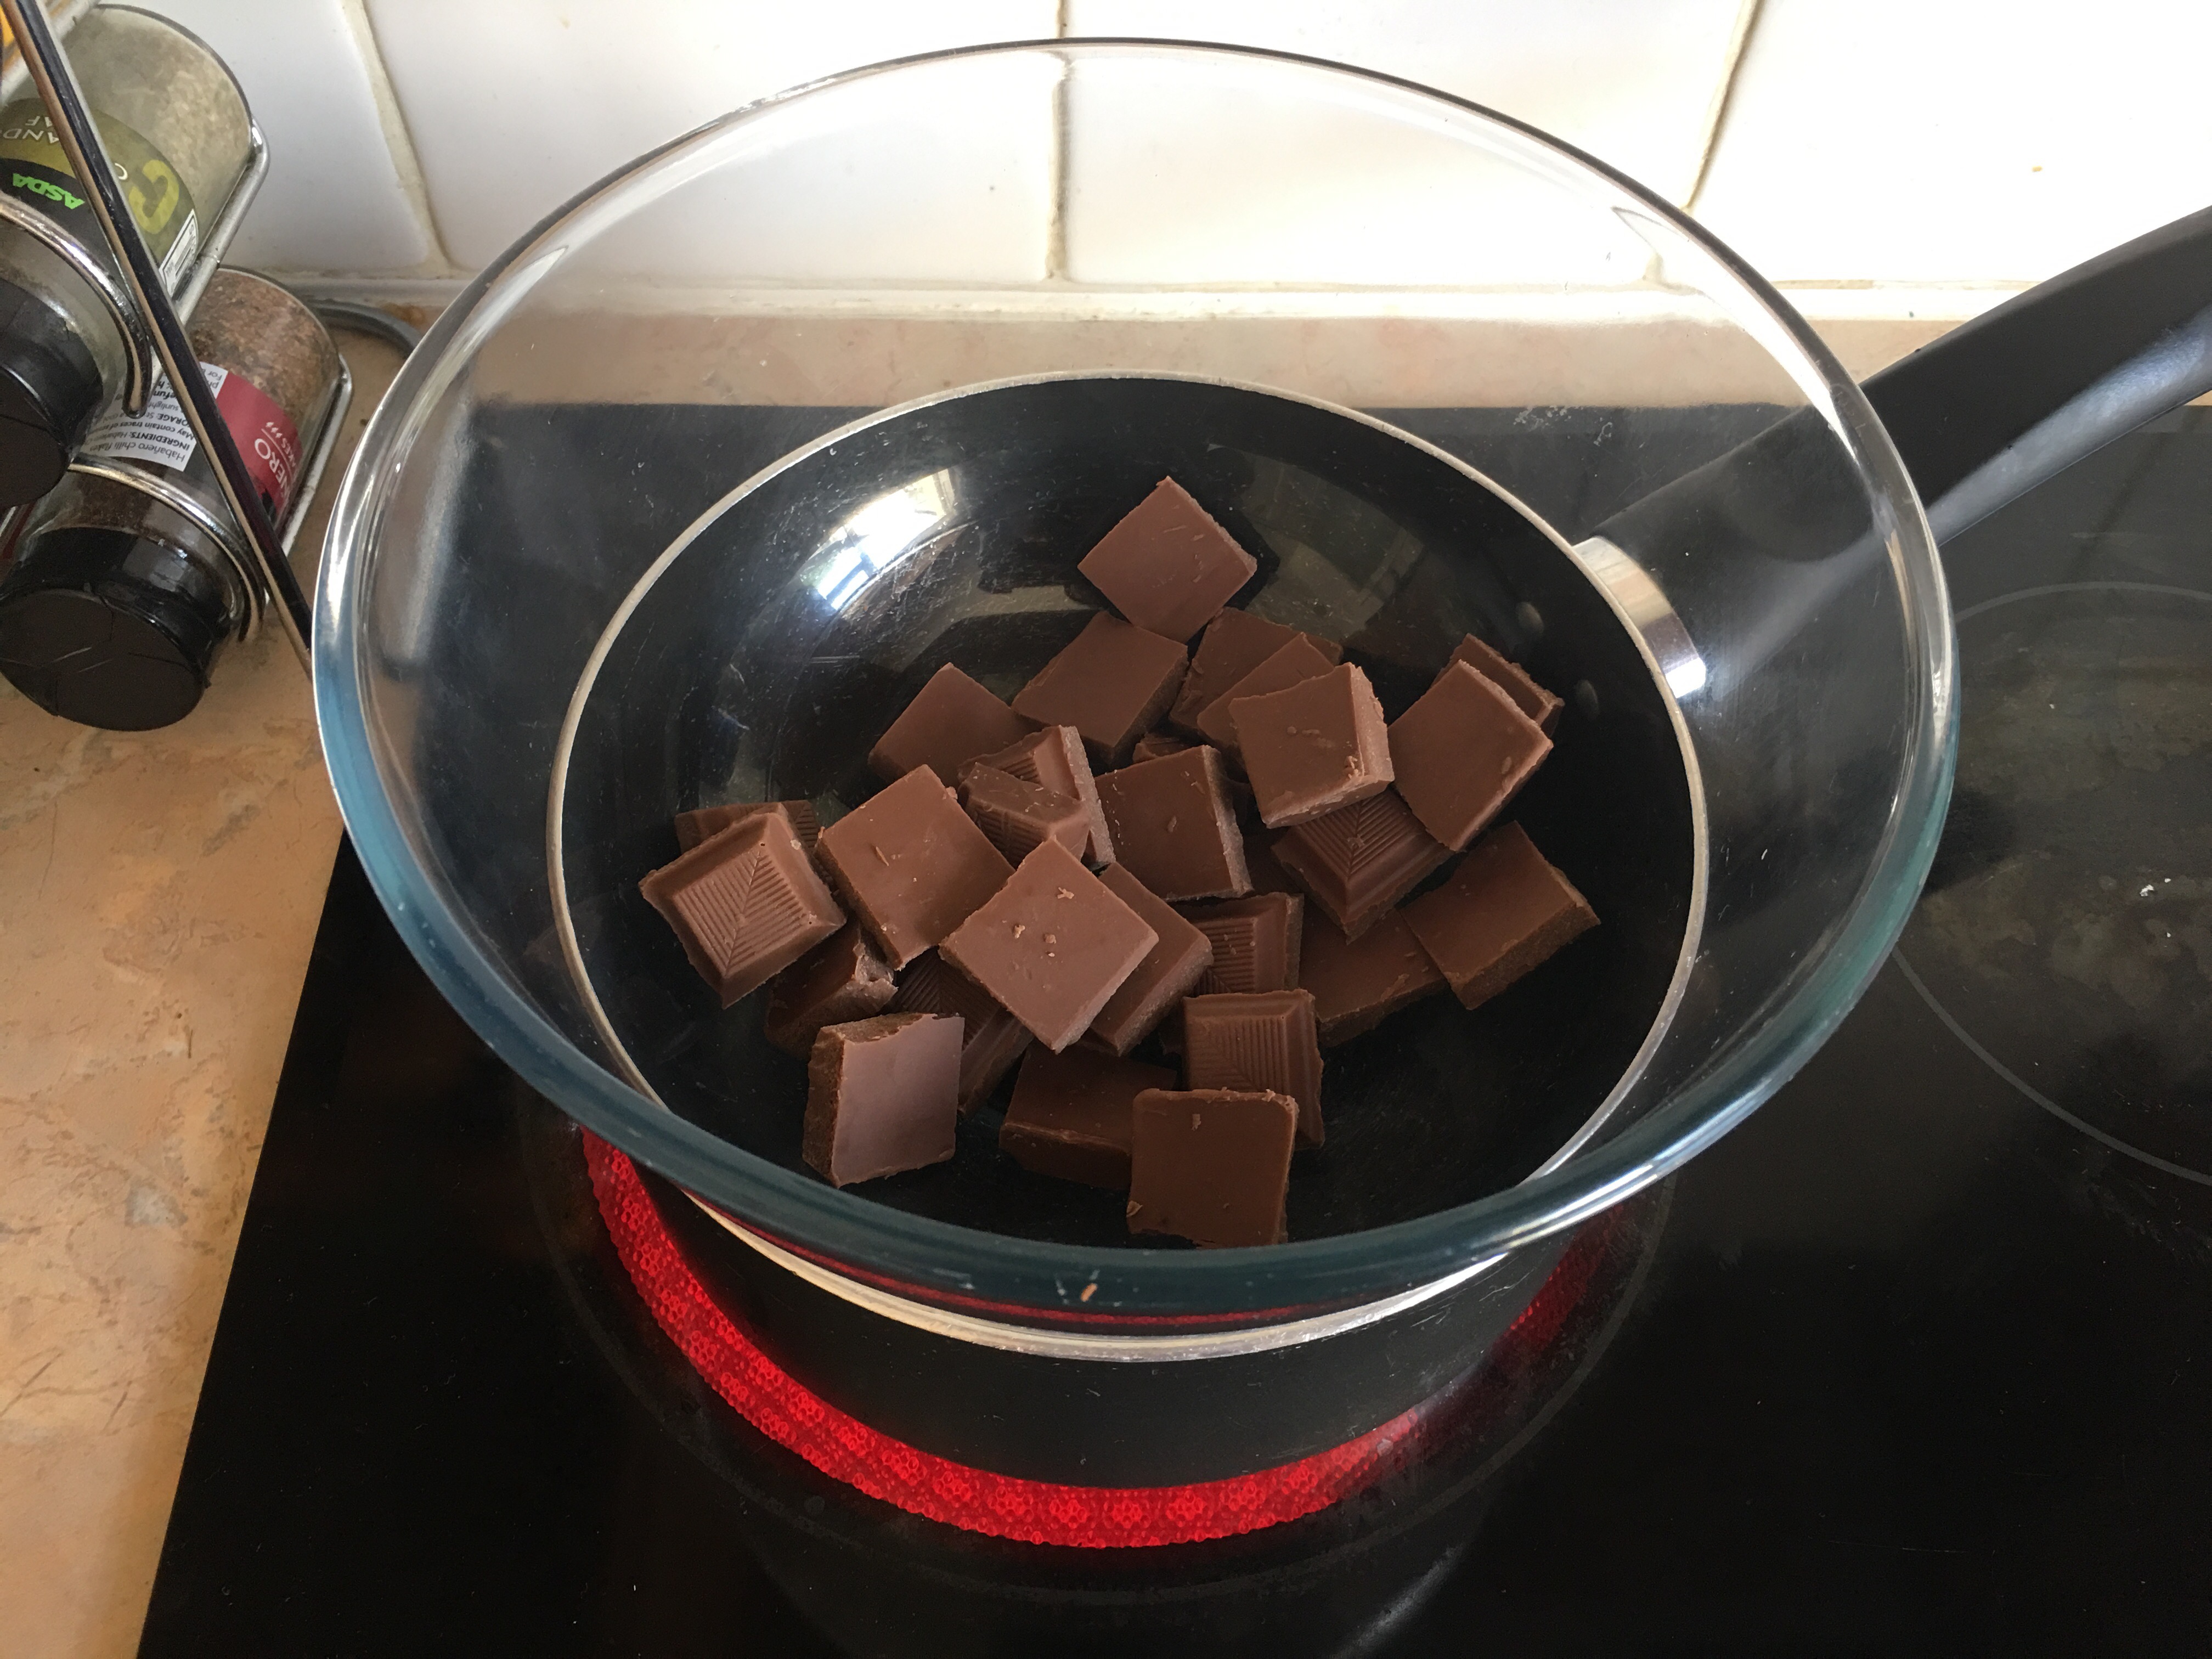
Make sure you stir the chocolate on occasion to ensure a smooth consistency. It didn’t take very long for the chocolate melt.

Next up we made our cake mixture and poured it into the four cake pop moulds. It’s advised in the instructions to spray the moulds with a little oil to stop the cake pops from sticking so that’s what we did.

Once you’ve done this, you then need to put the top of the cake pop mould on. Make sure you’re using the right cake pop mould, as the lid has holes in so you don’t want to use that as your base, otherwise your cake mixture will pour out!

Next up pop your mould onto a baking tray and into a pre-heated oven. Bake for 20-25 minutes. Whilst we were waiting for the cakes to bake, we made some chocolate cones.
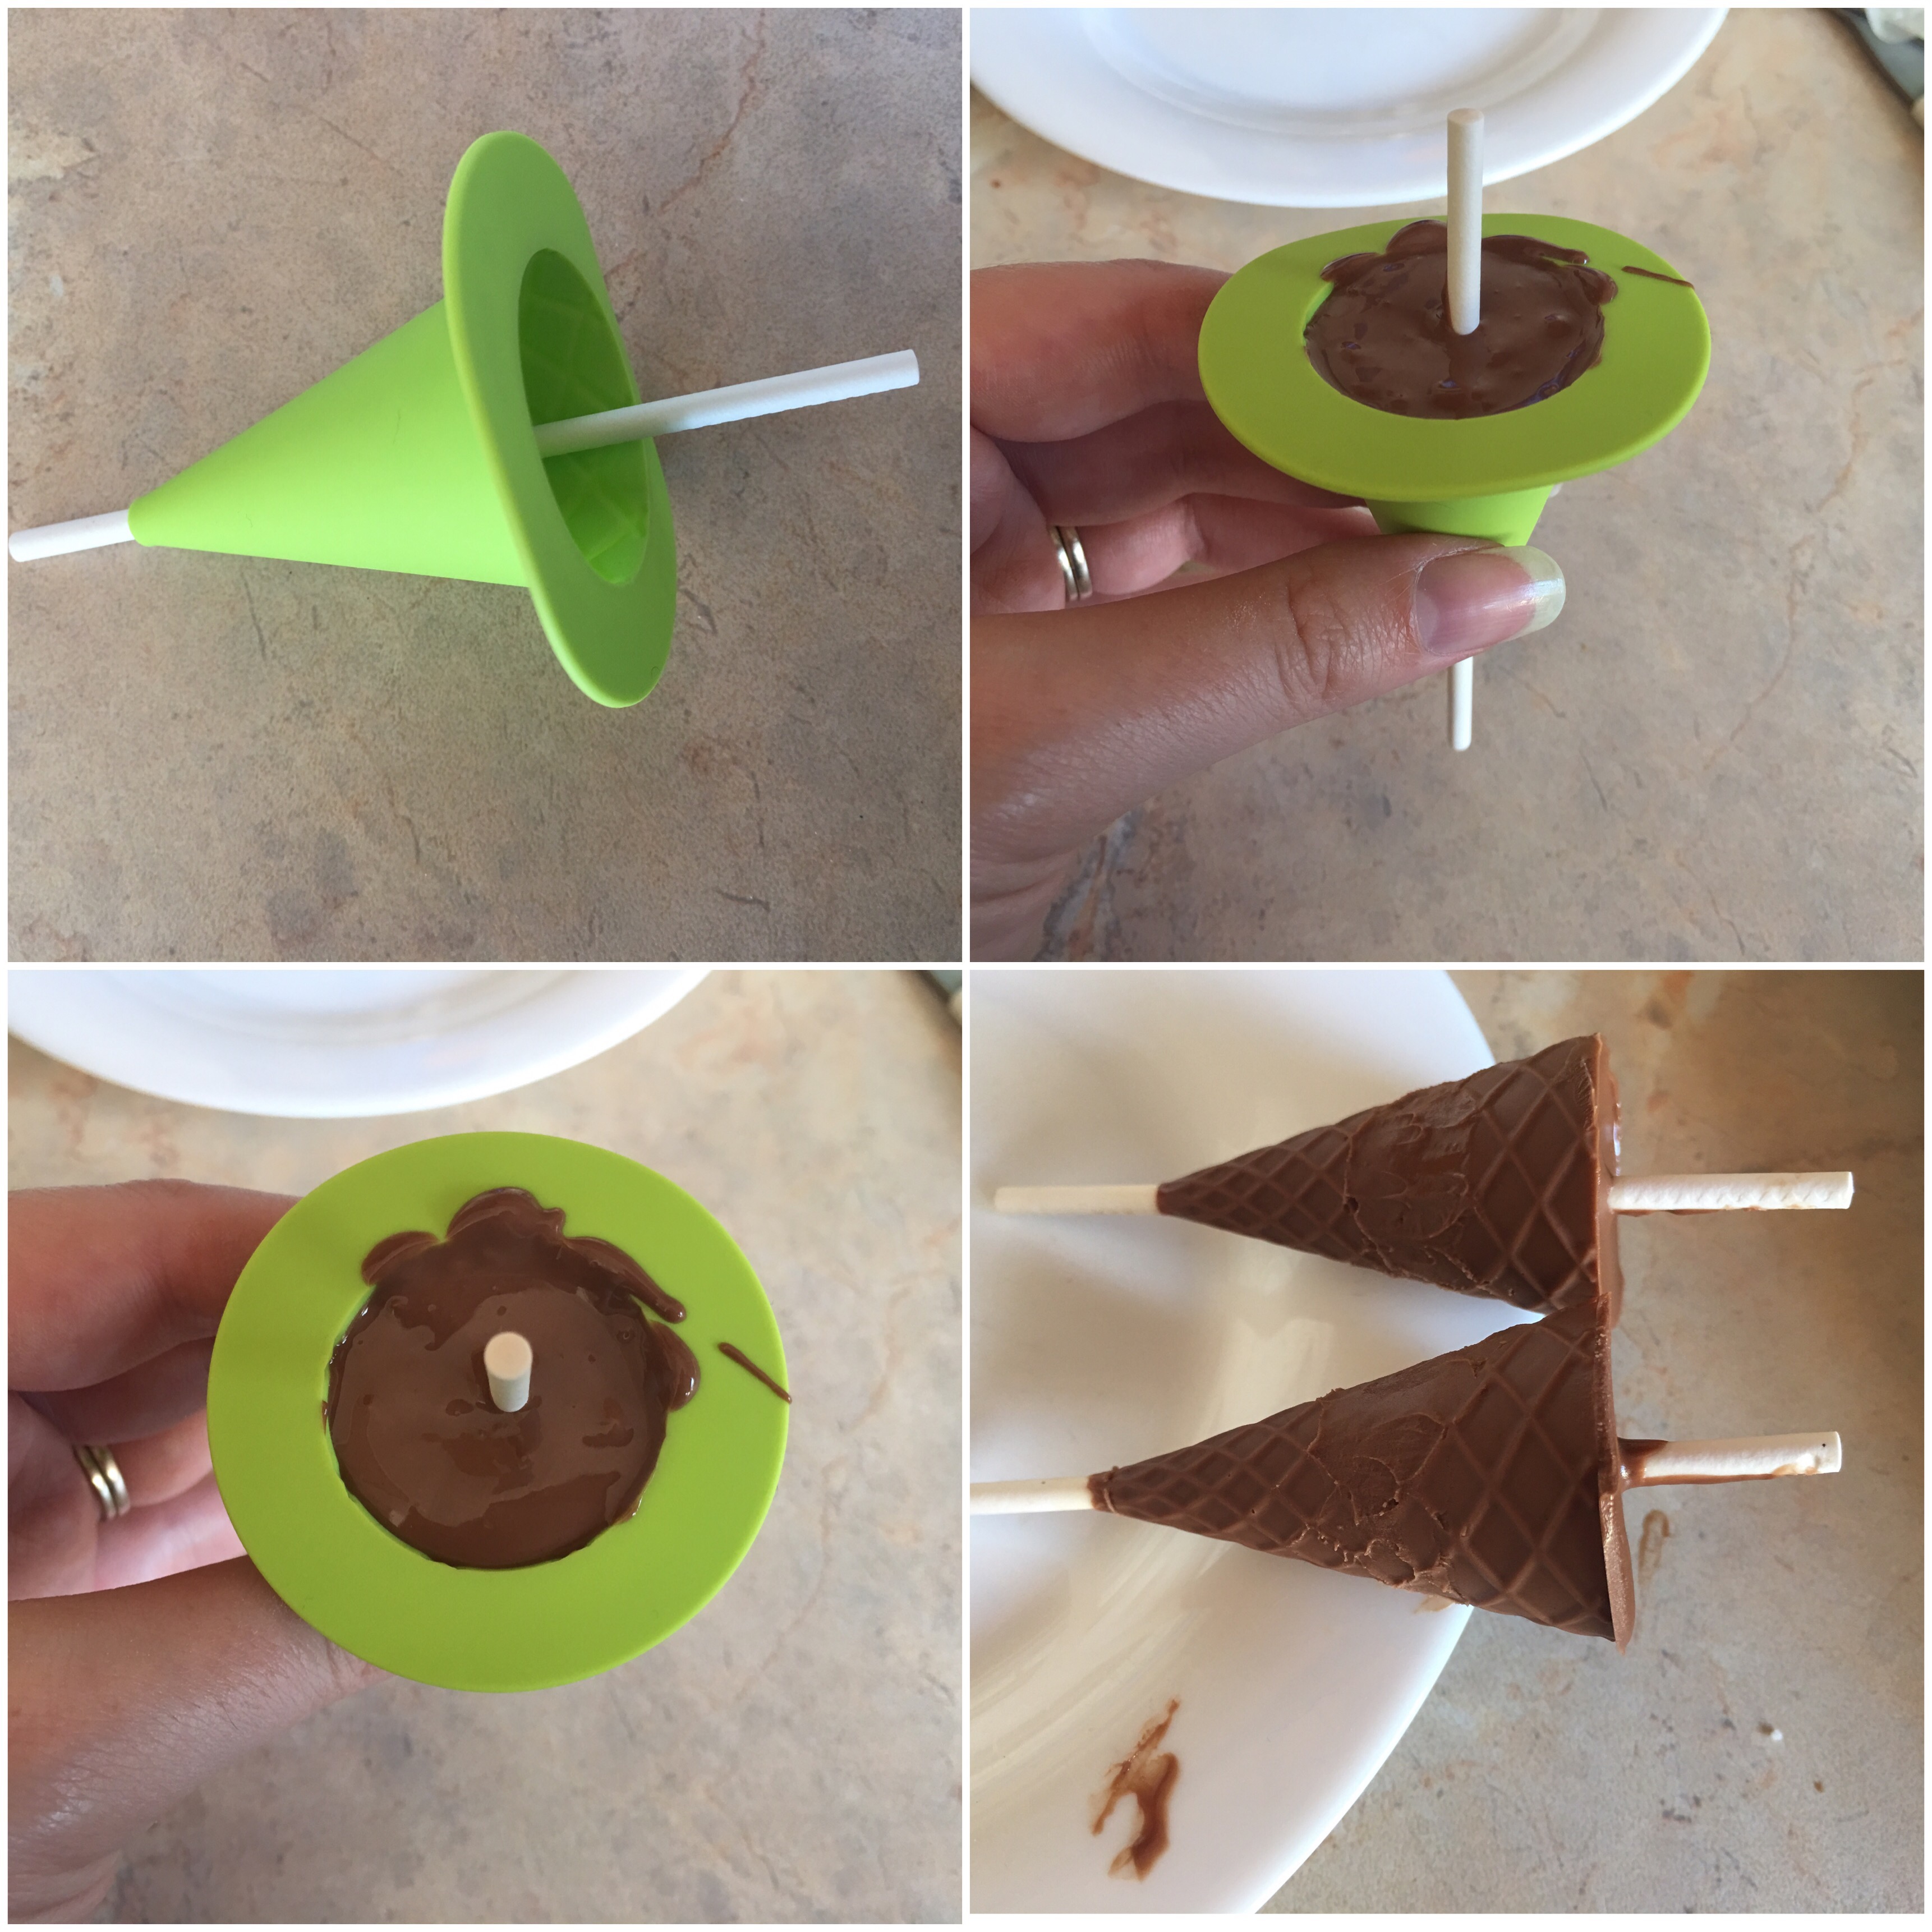
I was a bit disappointed to find only two cone moulds as there are four cake pop moulds so I would’ve expected four cone moulds as well, but we did have fun making the cones nonetheless.
It was really easy and something that we’re all keen to do again. You just need to pour some of the melted chocolate into the cone moulds, add a lollypop stick making sure it’s in the centre, then simply pop in your freezer for five minutes.
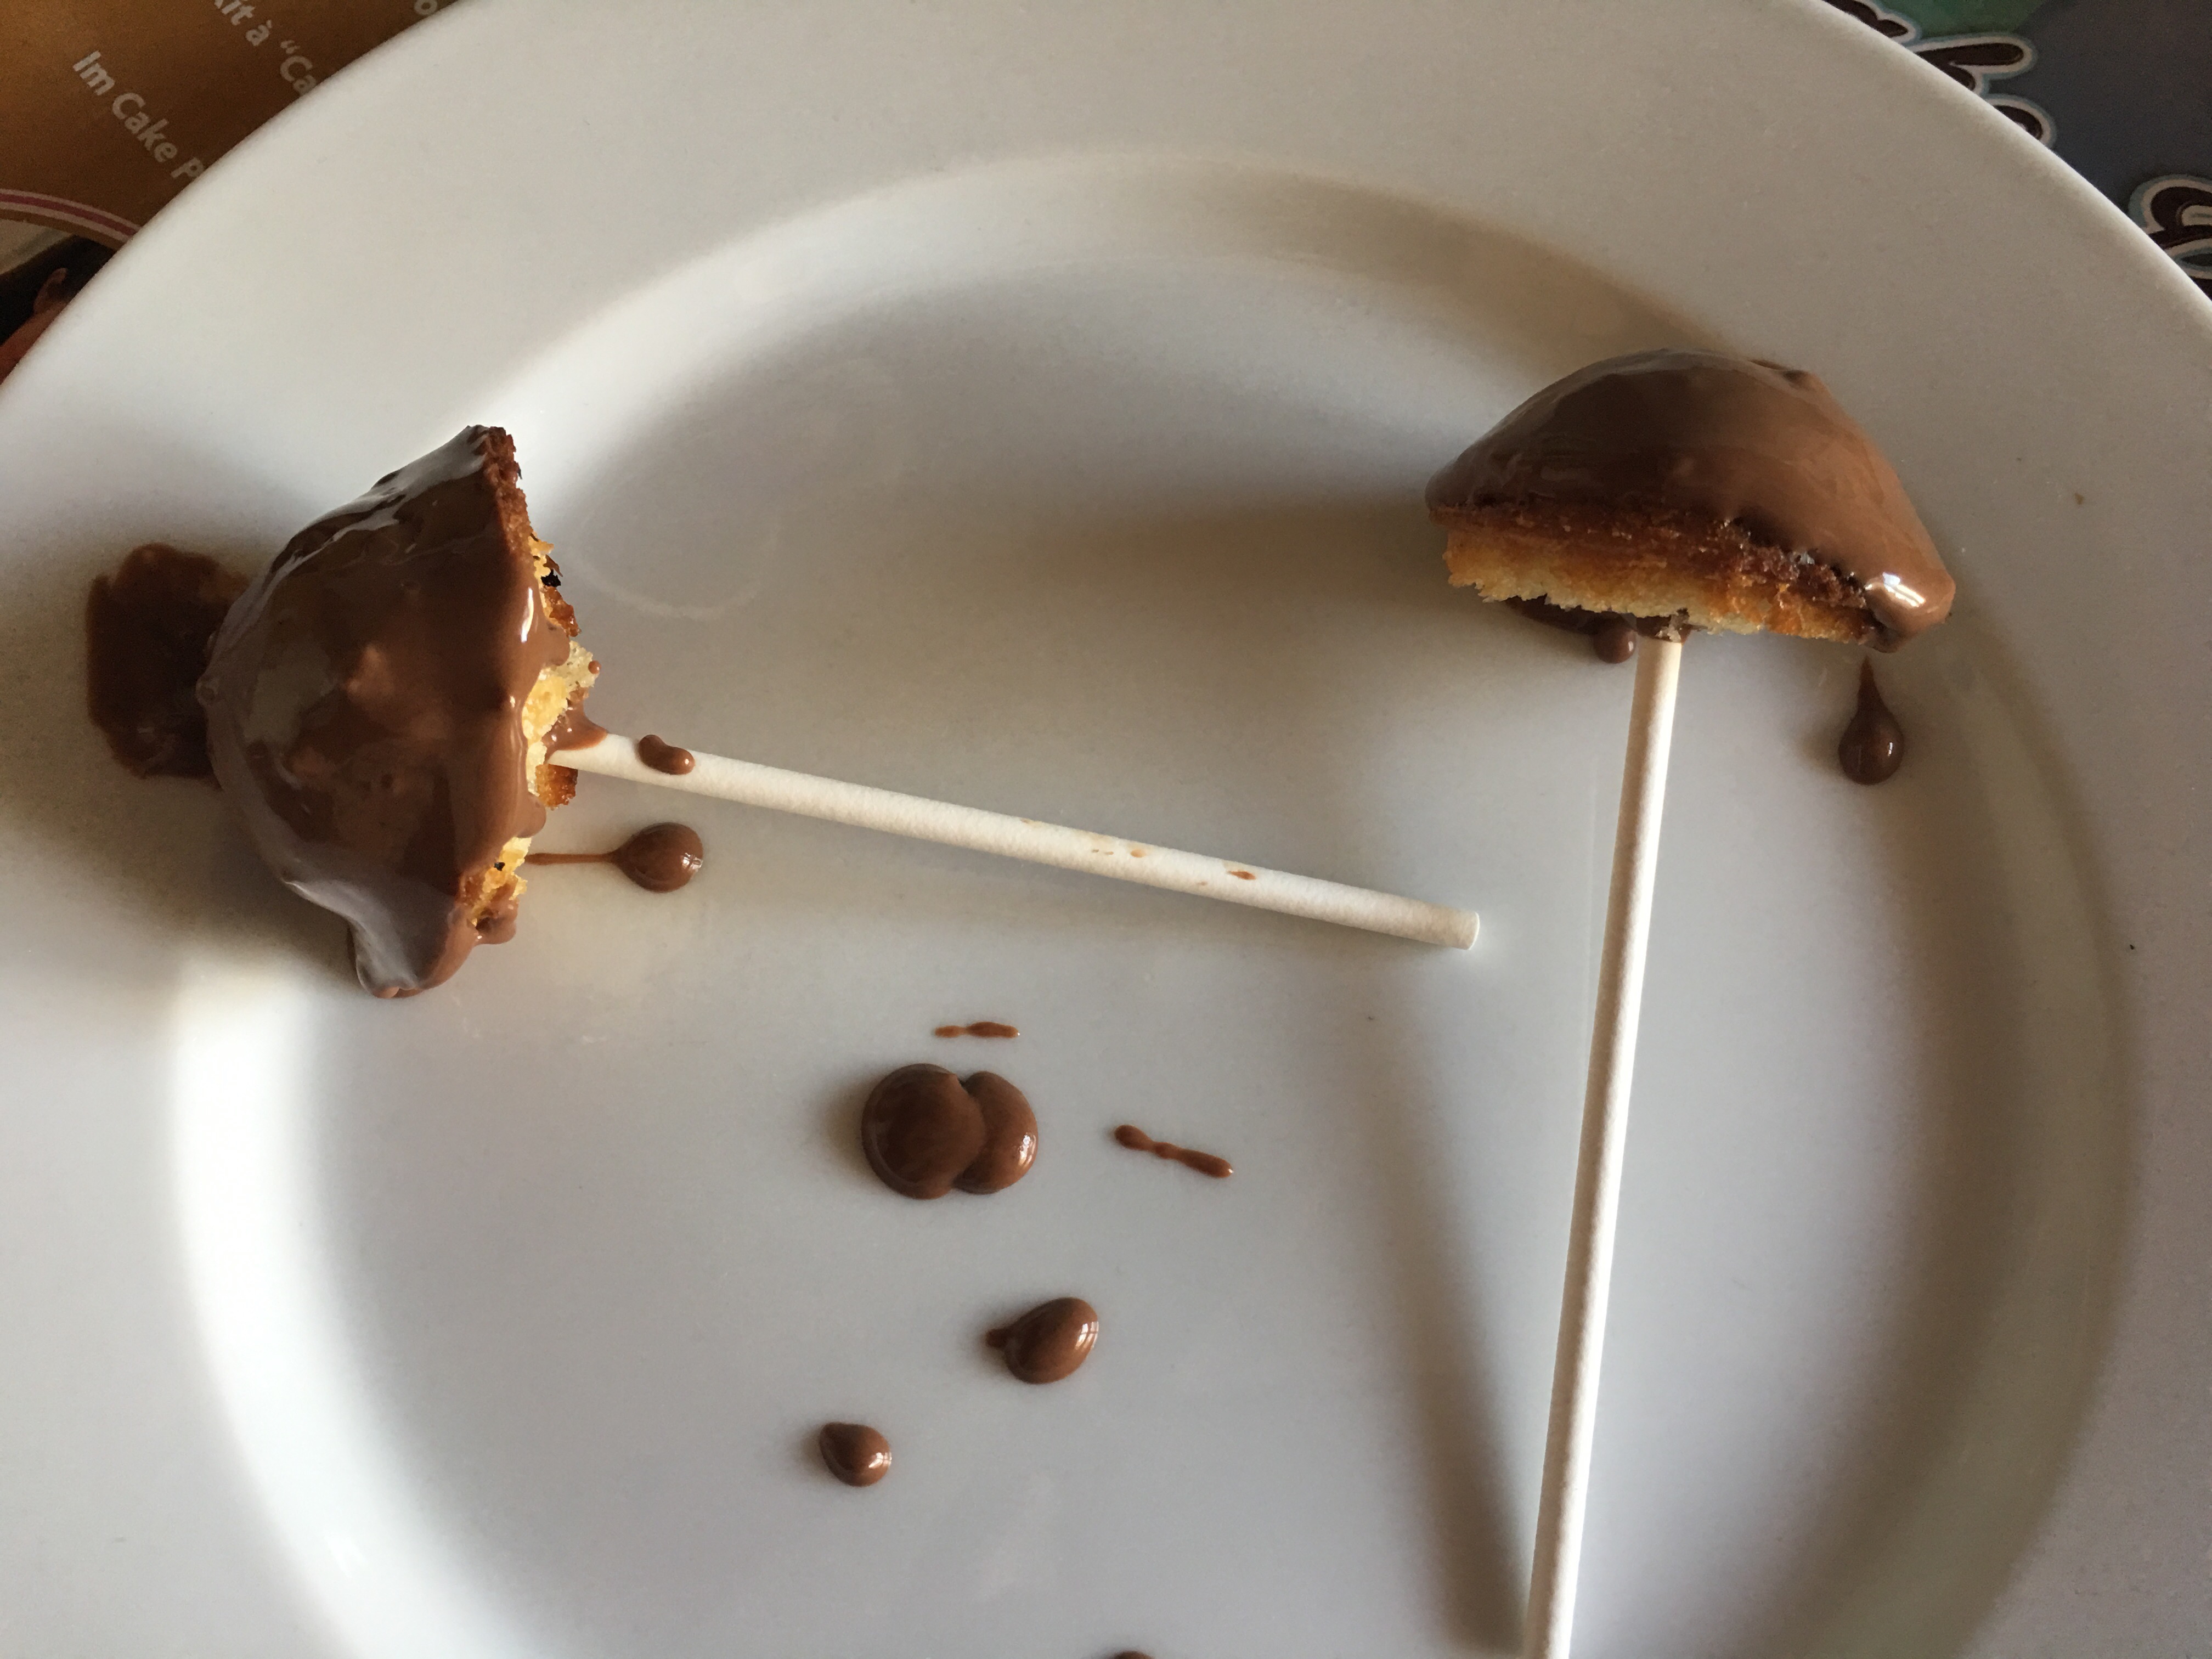
Our cake pops came out ok. I think in hindsight I would have used butter to grease the moulds instead of oil, as the oil didn’t really stop them sticking so some of the cake pops weren’t entirely round as they had the bottom half missing!

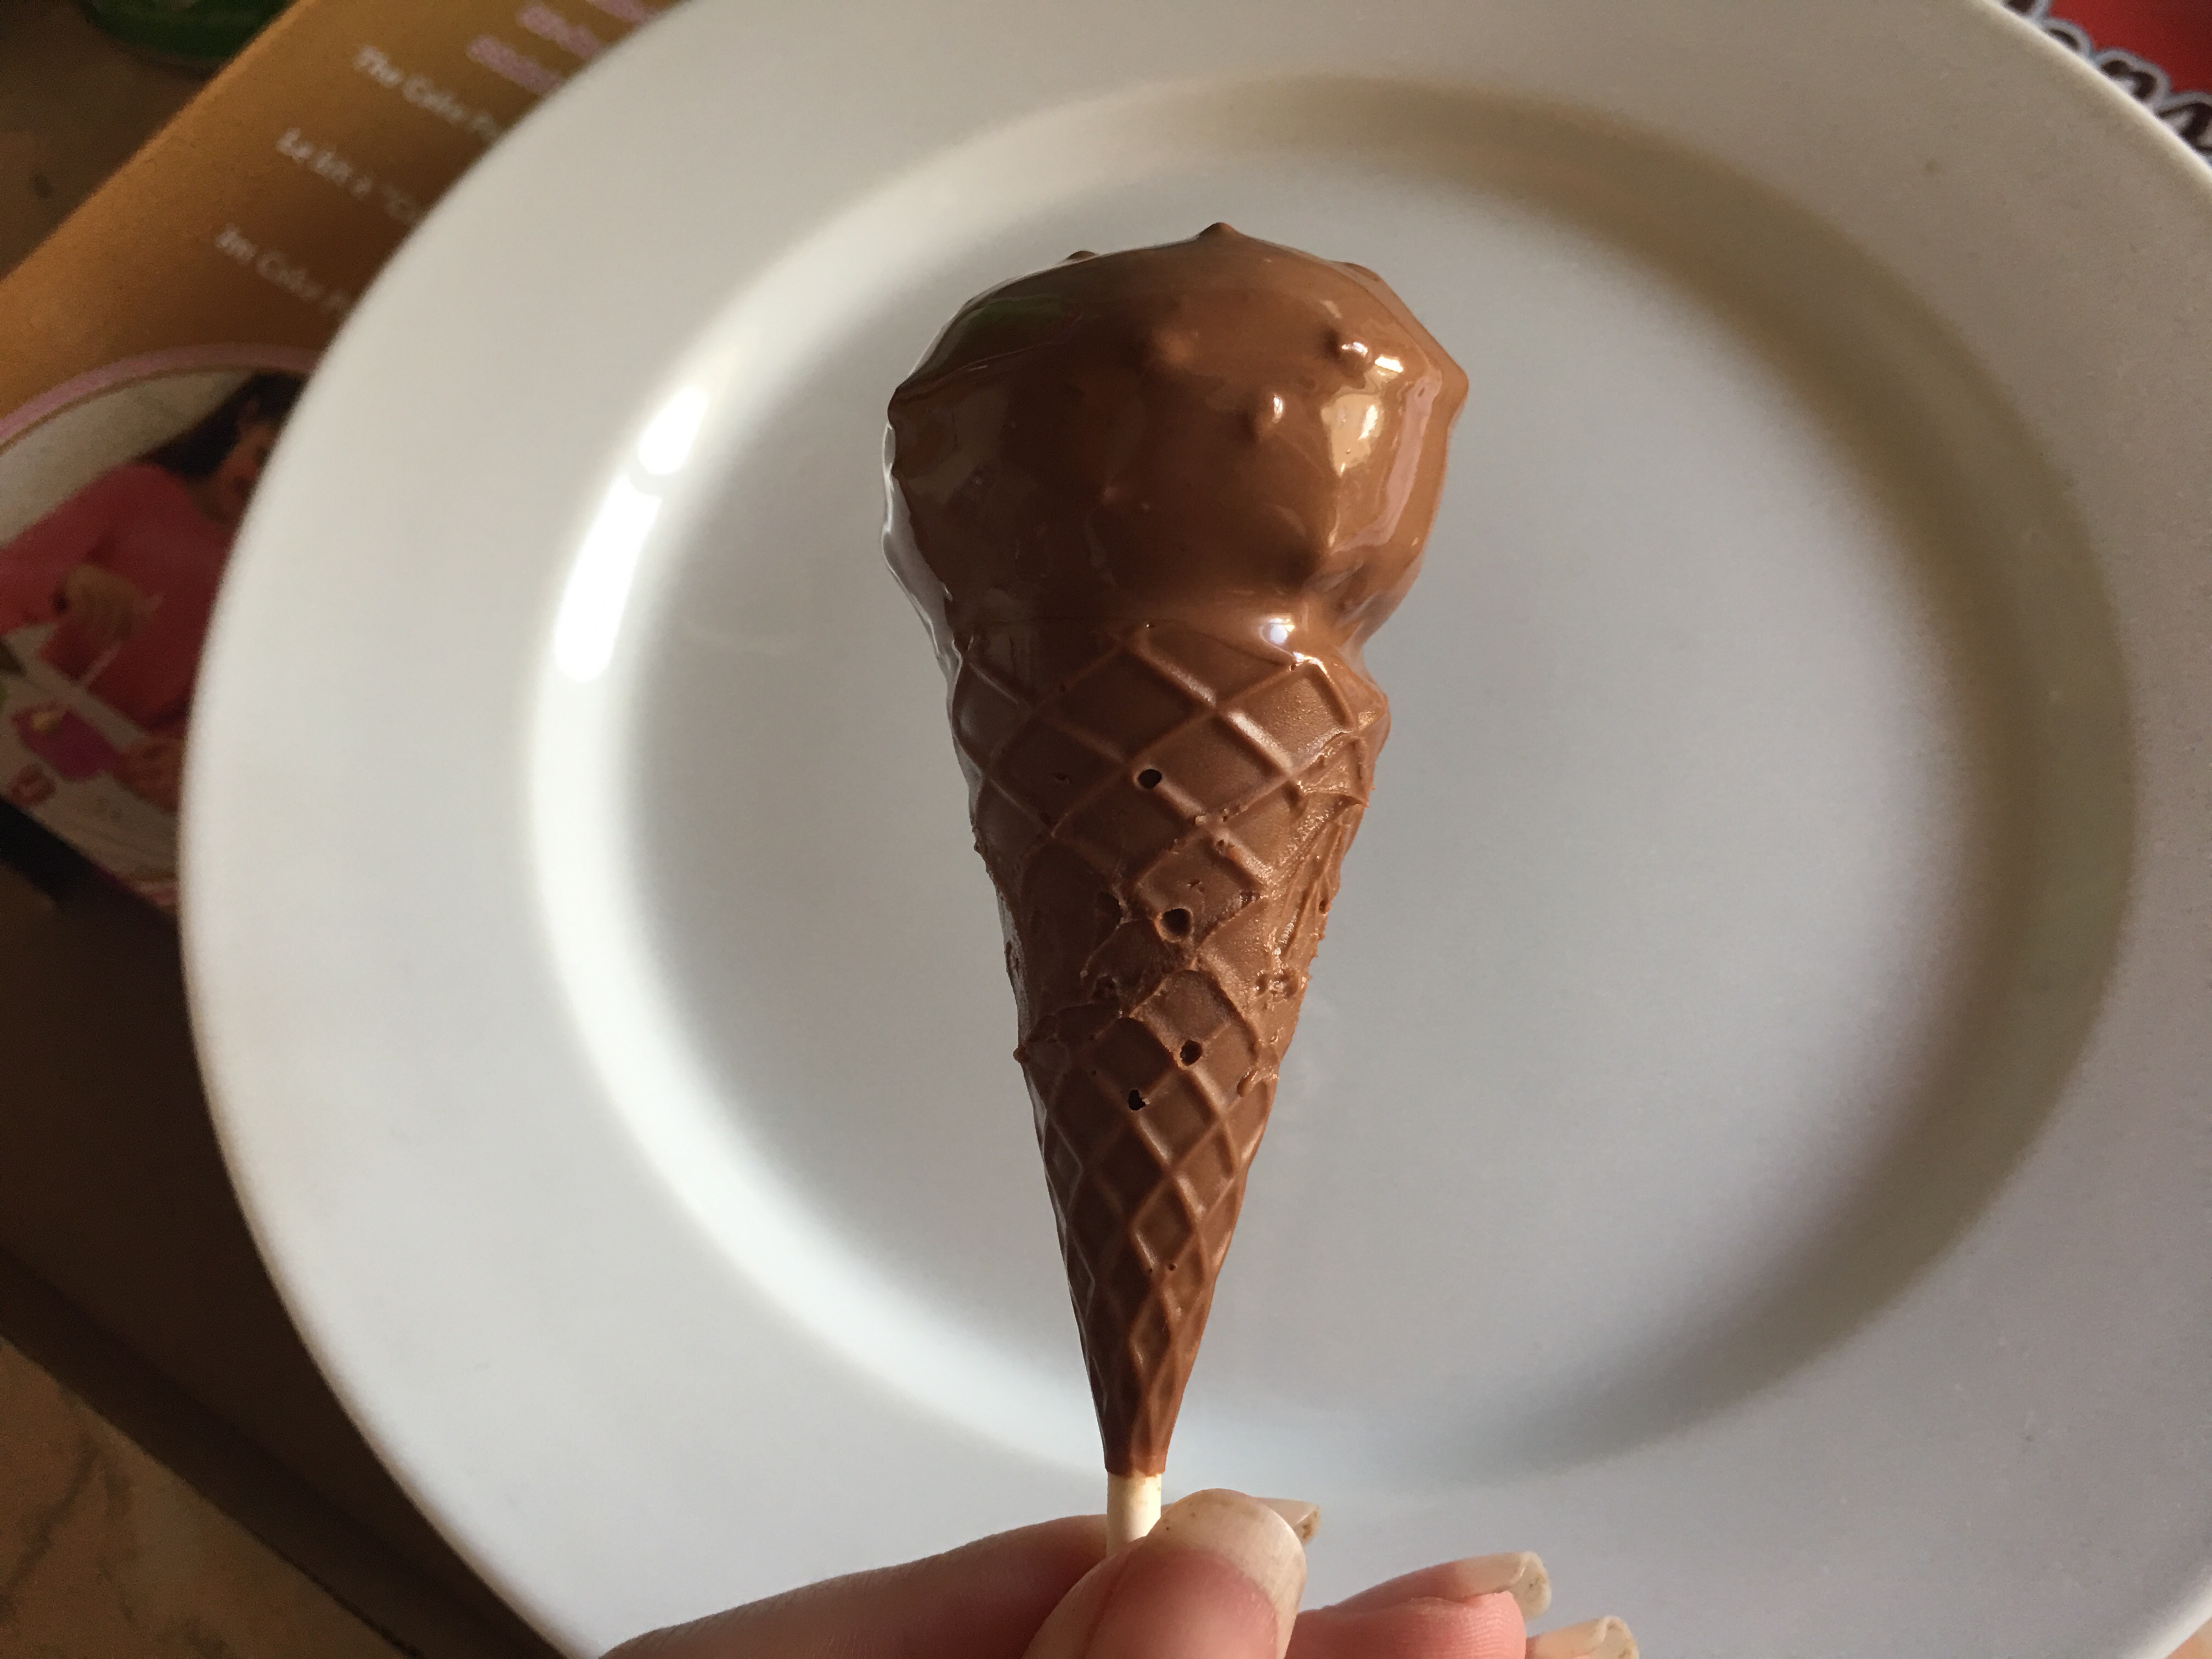
Next we needed to dip a lolly stick into the melted chocolate before inserting it into a cake pop, then dipping into the melted chocolate. For the chocolate cones, we followed the same method of dipping the lolly stick that was protruding from the chocolate cone into the melted chocolate and then into a cake pop.

I think the end result with the chocolate cones looks pretty good, although next time I think I’d probably buy some sprinkles to decorate them a bit more.
R and M really enjoyed making these cake pops. It was fun, it was messy and it involved chocolate! What more could children want! As you can see from their very chocolatey faces below the cake pops were pretty tasty too!

Overall, we did have fun. We enjoyed making the cake pops and I think the cake pops kit is good, but it could be great with a few added extras.
I think a recipe card to make the cake pops would be a great addition, as well as four cone moulds instead of two. I also think a cake pop stand is needed. Once the cake pops had been dipped in the chocolate, the instructions advise to leave the chocolate to set, but this is quite hard to do when you don’t have anywhere to hold the cake pops. I put them on a plate which resulted in them rolling around meaning some of the chocolate came off.
That being said, we’d definitely use the cake pops kit again! Have you tried to make cake pops?

6 Comments
Kaye
September 20, 2016 at 8:20 am
I keep seeing the advert for these and thinking I want it for myself. 😂 Fab review. #triedtested
Kim Carberry
September 20, 2016 at 1:00 pm
These kits look like so much fun…
We have never tried making cake pops before….I think we might have to 😀
Yet Another Blogging Mummy
September 20, 2016 at 1:03 pm
These look fun with tasty results. I’ve often wondered how cake pops were made. Might have to give them a go #TriedTested
Mellissa Williams
September 21, 2016 at 9:49 am
This looks fun, and anything that encourages kids to cook is a great idea.
Steph
September 21, 2016 at 1:59 pm
I must be the only person in the world who has never had a cake pop! They look lovely, but I agree I think something to hold the cake pops (like a stand) would be useful as part of the kit. The kids look like they really enjoyed it though x
Kerry Norris
September 21, 2016 at 10:04 pm
The chocolate cones look cool. Haven’t seen them like that before. I think my daughters would love to have a go at these x